
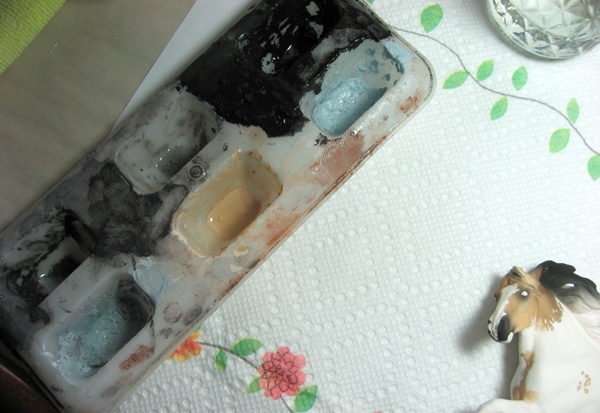
My trusty palette that I've been using since 2001… it's a popsicle holder!
You may remember a last year on this blog I did a post which mentioned my technique for painting blue eyes. I thought I'd revisit that now and go a little deeper, seeing as I'm painting a horse with two! I've been working to make my blue eyes even better over the years, and I'm pushing that a little more with Mr. Alphonse (who still needs a bit of scritching touch-up). Hopefully it will all work out! I took pictures so you could see, step-by-step, one of his little eyeballs becoming blue. I'll be sure to show a close up of him when he's all fired so you can see how he turned out….
Step #1
The first step is always starting with a blank canvas. I tend to do this before his paint is fired on, because it makes scraping it off so much easier! I make sure that the area where I want eye white is truly scraped well- I can leave a little gray around the edges of the rest, as I will be painting gray next.

Step #2
I outline the shape of the eyeball with dark gray, as blue-eyed horses often have a gray outline (the shade varies) to their eyes. It is handy to have lots of reference photos available, so you can check your work against reality. I do like using a darker shade of gray, for contrast.

Step #3
The gray 'circle' gets filled in with my blue/gray/white underglaze mix. I do overlap the dark gray a bit, for blending purposes. I tend to do 3 thin coats (or 2, if I got the paint a little thick). The trick is to get solid coverage without getting it too thick. I once had some blue just pop off an eye in the glaze fire because I went too crazy with layers!

Step #4
Blue eyed horses will often have darker blue and/or gray striations through their eyes. I use a pure (baby) blue for a few stripes in the middle, to bring this out. Here you can kind of see them drying (they dry rather quickly, so remember where you put them!).

Step #5
Back to dark gray! Traditionally, I've just done an outline of the pupil in a darker gray, before adding the black pupil on top. After re-examining my reference photos, I've decided to push the gray out a bit more, and add some striations using a thin, thin brush. Don't worry if a line gets a little too thick- you can use an x-acto to clean it up a bit, if you use a *very* light touch!

Step #6
I cleaned up my thin lines a bit, and added more gray to the middle of the pupil area.

Step #7
Add the pupil! Do look at photos to make sure you've got it lined up right. This will only take one coat of black, as black is quite opaque. Yay- you're done!

Okay- hope this was a help to any of you artists who aren't too familiar with blue eyes in ceramic, or that it was interesting enough to those who are just plain curious! Like I said, I will let you know how the extra little lines work out- if you can see them, or if they just fade into the eye after it fires. I'm hoping I made them dark enough to stay- we'll see!
Stay tuned for more detail-oriented painting posts as I finish up the claybodies!
:)
No comments:
Post a Comment